What is HDR Photography?

HDR stands for high dynamic range and it’s an old style of photography that’s recently been introduced to smart phones, including iPhones and Andriod devices. The dynamic range is the difference between the lightest light and the darkest dark shade you can capture within a photo. Once your subject exceeds the camera’s dynamic range the colours tend to wash out to white or big black blobs – definitely a photo you don’t want to create into a canvas print.
Although HDR is suppose to make your photos look better, we understand it’s difficult to capture both ends of the spectrum, but with modern techniques and advanced software, photographers have created a way to make this happen.
Before we get all technical, we’re going to talk about how HDR photography works, how you can create an image using this technique and when you should and shouldn’t use this style.
How does HDR work?
Since it’s in the name, if you guessed that HDR adds a more dynamic aspect to your photo, then you would be right. Like we said the dynamic range is the ratio of light to dark in photographs. Instead of capturing just one photo the HDR uses three photos taken at a variety of exposures. If you’re using your camera then you’ll have to use editing software to get the results you want using those three images. However, if you’re using your smartphone it does all the hard work for you. That’s why you might find your phone takes longer to capture your photo because it’s actually taking three.
When should I use HDR?
Landscapes – If you’re a nature photographer then you’ll find this photography technique is ideal for you. When taking a scenery shot there’s usually a lot of contrast between the sky and land, which is difficult for your camera to deal with. By using HDR you can capture the details individually without compromising the impact of each aspect.
Photos in sunlight – Lighting is the most important aspect when it comes to achieving a good photo, and we’ve all experienced harsh sunlight that causes too much glare and dark, unflattering shadows. Well if you use this HDR technique you can say goodbye to that!
Low light – If your photo is looking too dark and our low lighting photography tips don’t help, then you can use HDR to brighten up the foreground without washing out the lit areas of your photo.
When shouldn’t I use HDR?
Capturing movement – If any of your subjects are moving HDR will cause your photos to go blurry. Remember what we said, HDR takes three photos, so if your subject is moving in between shots then the final photo will look out of focus.
Bright, bold colours – We’re aware that HDR is ideal if your scene is too dark or too light, however if your background includes very vivid colours then the chances are HDR will wash them out, so you won’t achieve the results you desire.
What equipment do I need?
Before you set out to create a stunning canvas print you need the right equipment:
Smartphone or camera - Like we said your smartphone will do all the hard work for you, however if you’re using a camera make sure you use one with an auto exposure bracketing function. This isn’t an essential function, but if your camera doesn’t have it you’ll have to adjust your camera manually.
A tripod - This will ensure your photos don’t turn out blurry, as remember HDR captures three photos at a time.
HDR photo-blending software - Now, if you’re practicing this new technique you don’t want to pay a fortune for software, so we’ve found great free option – Luminance HDR. Luminance boasts six different photo-blending procedures for you to get creative with, so no matter what result you’re trying to achieve you’ll be able to with Luminance.
How do I capture an HDR photo?
Due to the nature of HDR you won’t be able to capture a moving object, so you’re best of shooting a scene that’s not going to change. Try to look for scenes or subjects that have a large contrast between light and dark. This could prove to be difficult as our eyes see in HDR, but if you manage to find some it’ll totally pay off in your photos.
Make sure you invest in a large memory card so you’re able to shoot in RAW format. If you capture JPEGs they’ll compress your photos and cut down the size of your file, meaning you’ll lose a lot of important details.
Just experiment. You’ll never learn and improve your skills if you don’t practice and have fun with it. Find out what works for you and what doesn’t. Try out a bunch of different scenes and subjects, everything you do will be a learning curve and will help you become a pro at this technique.
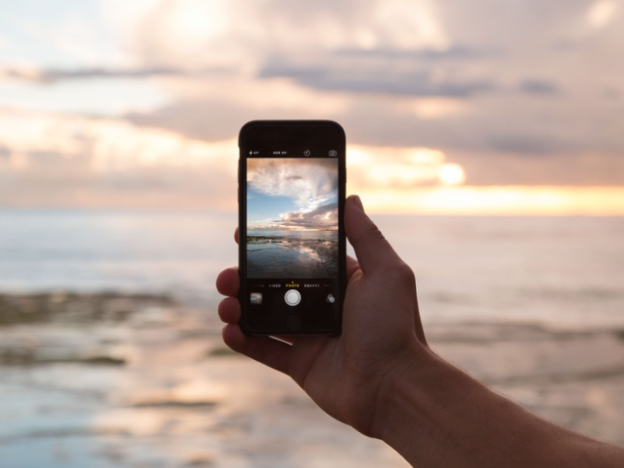
If you are planning to try out this photography technique using your smartphone, then make sure your phone’s battery lasts all day. Check out our smartphone battery tips to ensure you get the most out of your device.
Have you used this style of photography before? How have you found getting to grips with it? Please share your thoughts and opinions with us on Facebook or Twitter