How To Get The Sharpest Quality Photos For Your Canvas Prints
Even the best photographers can make mistakes sometimes. This isn’t anything to be ashamed of! No matter what level of photographer you are, from beginner to advanced, you always stand to learn something from past errors. The key is to try not to make the same errors over and over again. When it comes to getting a sharp focus on your photos, there are a number of factors involved. Getting digital images perfectly sharp is something that most photographers aim for – but crisp, perfectly focused images can be hard to achieve sometimes. Here's how to get the sharpest quality photos for your canvas prints.
Causes Of Blurry Photographs
Poor Focus
Poor focus is a result of focusing on the wrong distance in an image, shooting with an aperture that isn’t ideal, being too close to the subject, or a number of other variables.
Moving Subject
Trying to capture a subject that is moving makes it difficult to get a sharp focus. This is usually the cause of a slow shutter speed.
Unsteady Camera
If you’re shooting without a tripod, there’s a chance your camera is moving, which can cause a blurry image.
Tips For Taking Sharp Photos
Here are the basic steps you can take to make sure you are doing everything in your power to avoid getting blurry photos!
1. Avoid Camera Shake
The best way to avoid blur resulting from a moving camera is to use a tripod. If this isn’t practical, make sure to hold the camera with both hands and try to support yourself on another object to further steady your hands.
2. High Shutter Speed
Your shutter speed is incredibly important for taking sharp images. Longer shutter speeds allow time for more movement to occur in a shot and should only be used with tripods. The longer the lens you are shooting with, the faster your shutter speed should be. As a rule of thumb, the denominator of your shutter speed should be larger than the length of your lens (i.e. if you’re shooting with a 100mm lens, shoot at 1/125th of a second or faster).
3. Low ISO
When you’re shooting pictures that you’re planning to enlarge as canvas prints, you’ll want to use a low ISO for pin-sharp images. This will ensure that the noise in your shot is kept to a minimum.
4. Adjust your Aperture
A low aperture is great for scenic views because it keeps both close and distant objects in focus. A higher aperture will focus on a more exact point, which can be great for portraits or other types of shots in which you are focusing on one specific subject.
5. Focus!
The most obvious technique to improve is focusing your lens. Using Autofocus can be a great trick, but for very precise shots you’ll want to focus the camera manually in order to get the sharpest picture. Make sure you have the right object in focus and try to take a number of shots.
6. Use High-Quality Lenses
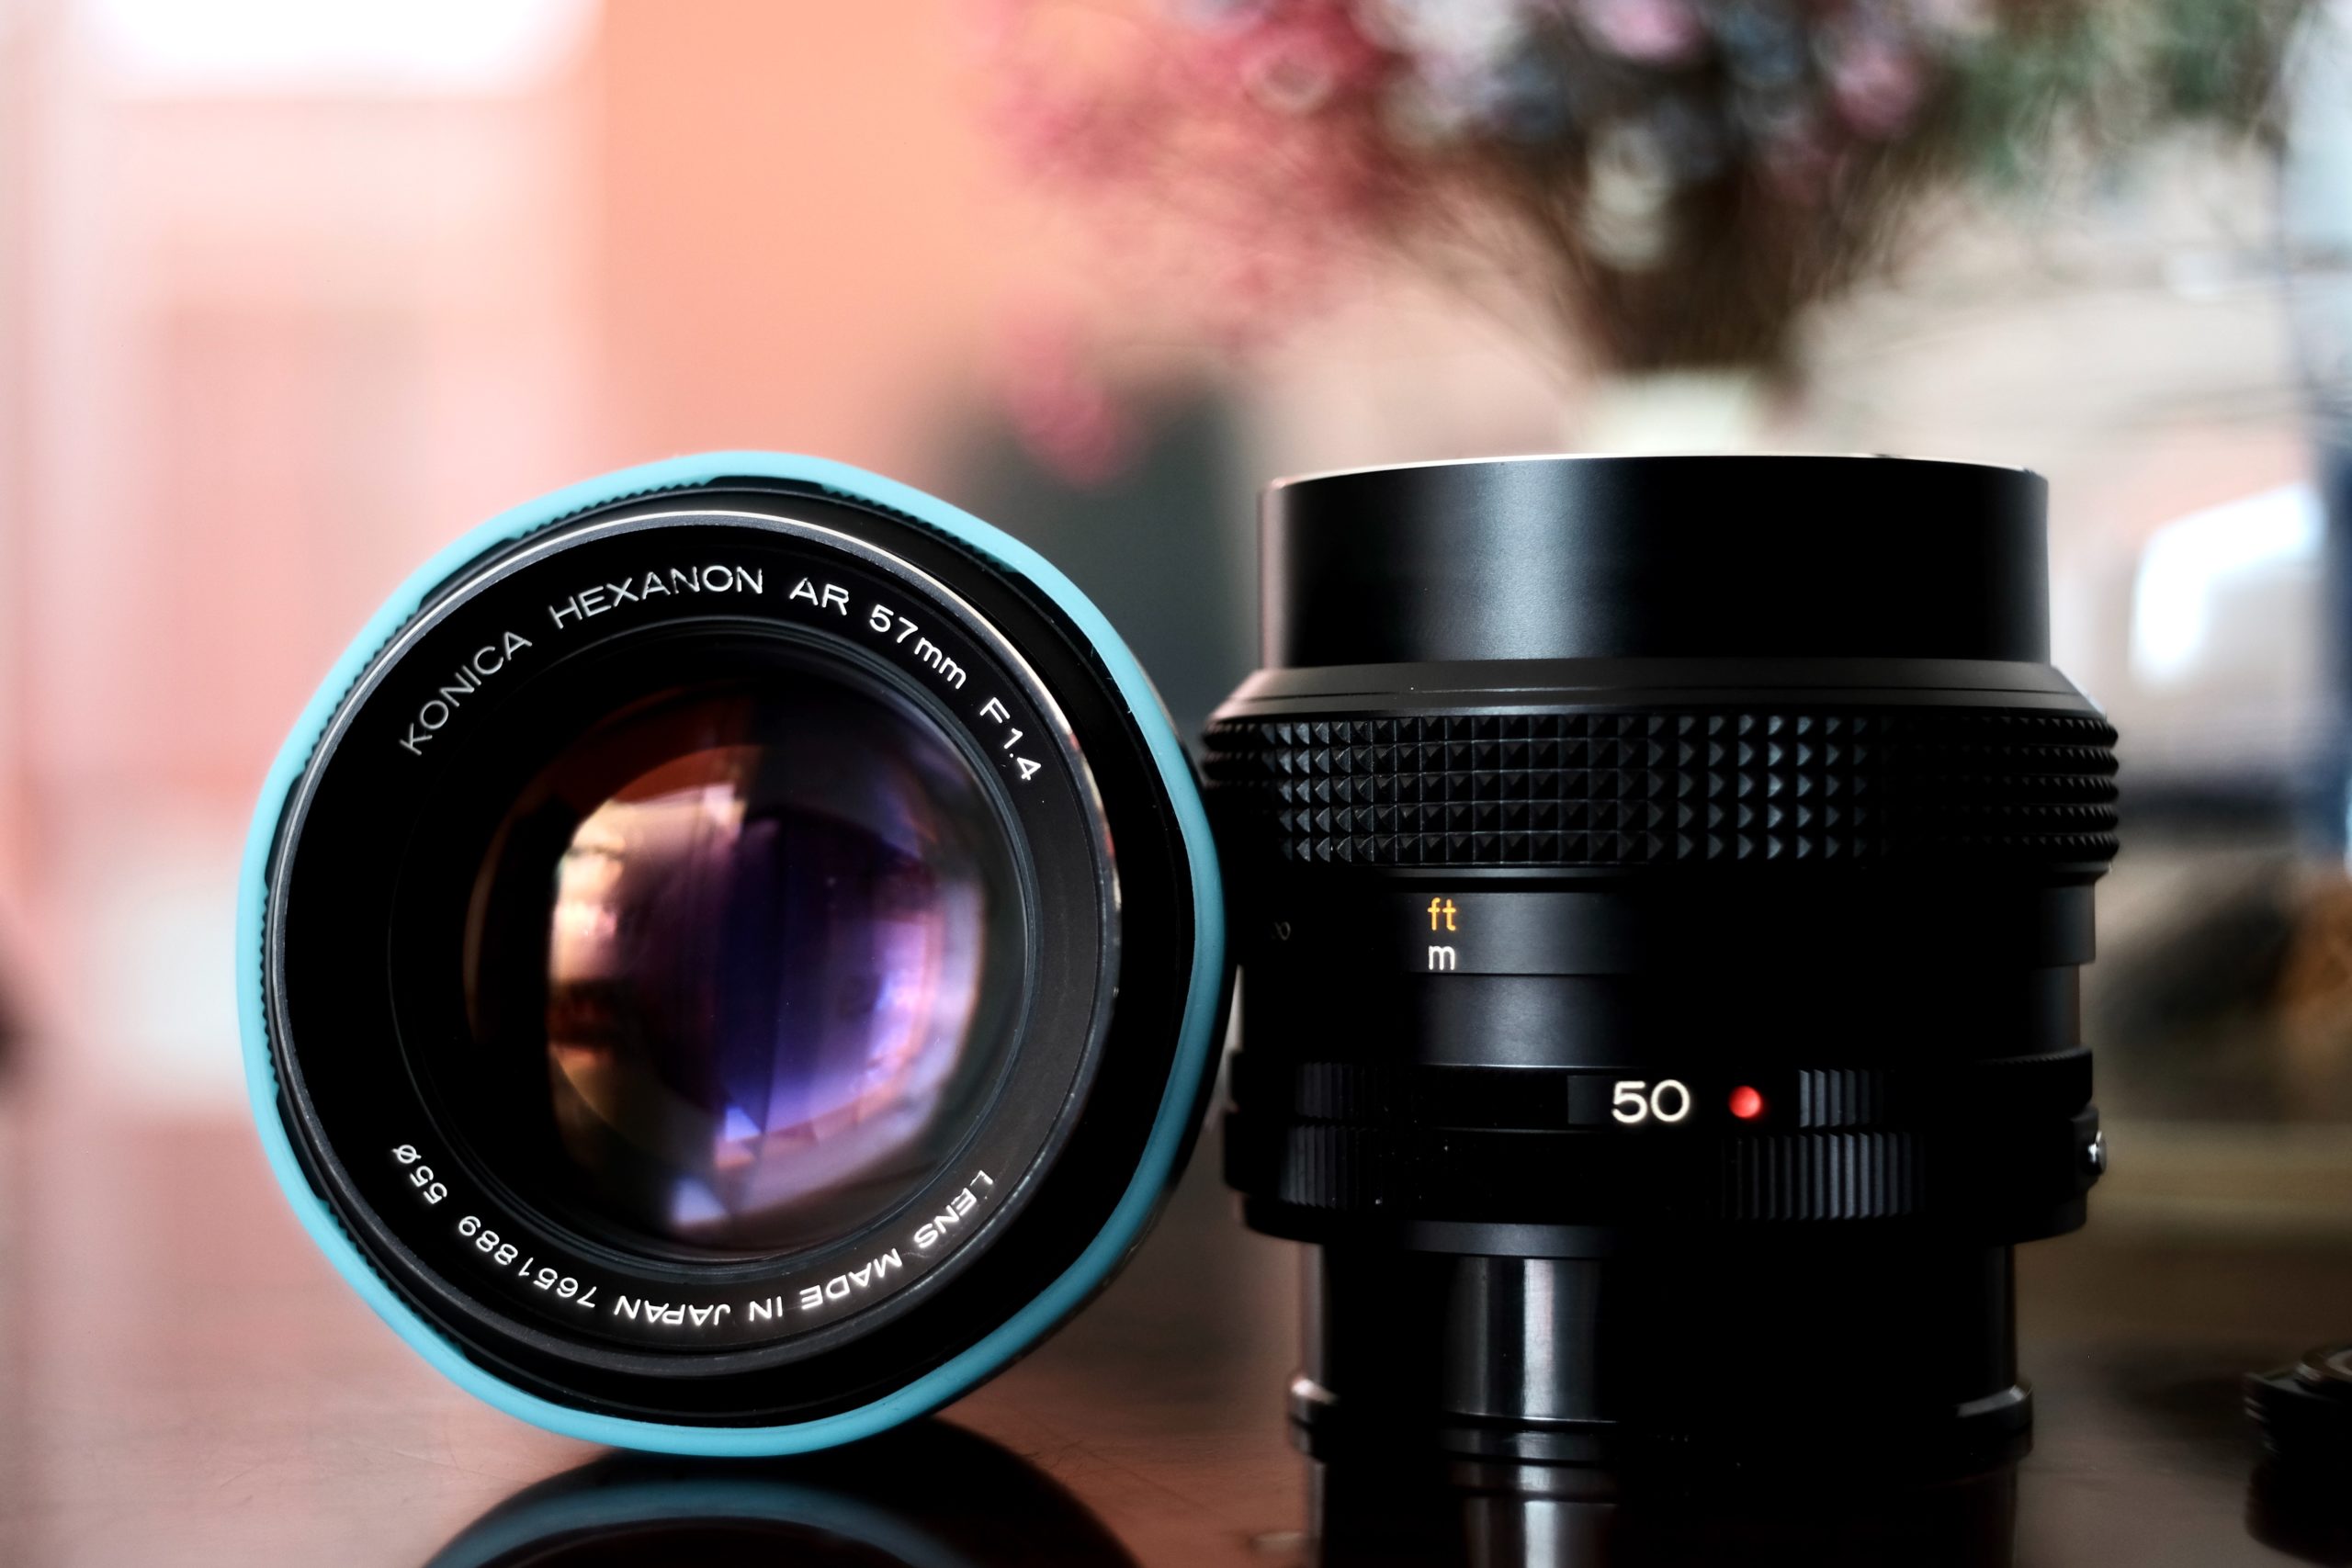
If you have the budget for it, invest in a DSLR lens. Really good lenses can have an amazing impact on the sharpness of your photos.
Follow these steps and always make sure you’re shooting with high-quality lenses and that all of your equipment has been properly cleaned! This will help you on how to get the sharpest quality photos for your canvas prints and achieve the sharpest images that make for the cleanest, most eye-catching quality canvas prints.


