An Easy Guide to Infrared Photography!
Simple Guide to Infrared Photography!
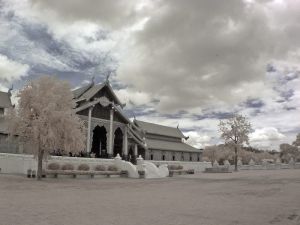
Infrared photography sounds like a really advanced photography technique, but it's not. These photos look great because of the ghostly look of the lighting on the subject. They can make for some very chic wall art when printed on our premium quality canvas prints. Don't think you can do it? Give an easy guide to infrared photography a try!
Do You Have the Right Camera?
The first step to taking infrared photography is making sure that your camera is capable of doing it. Most newer digital cameras should be able to, but you may want to make sure before you go any further. Here is how to test your camera to see if it has the ability to take infrared photos:
- Turn off the lights. You'll need a dark room.
- Point your TV remote at your camera lens and click a button, any button.
- Look at the LCD screen on your digital camera. Is the little light bulb on the end of your remote glowing red and flickering on the LCD screen? If so, then congratulations. You can take infrared photos.
Now that you know that your camera has the capability of taking these types of photos, you will need to purchase an infrared filter for your camera lens. These filters are available at online photography stores and screw onto your lens.
How to Take Infrared Photos
If you know how to shoot photos in low lighting, then you should be able to take an infrared photo with no problems. Here are the steps to take:
- Set your camera to a long exposure time. The exact time will vary depending on how much light you have in the room, so don't be afraid to experiment. Set your camera so that it shoots RAW. This keeps your images from being compressed in the memory and allows you to edit it to your heart's content after the shoot. It also allows you to enlarge the photo for printing on canvases without losing quality.
- Turn on exposure delay mode or use mirror lockup to avoid camera shake.
- Turn off long exposure noise reduction to avoid shutter lag.
- Connect a remote release or use your camera's self-timer to avoid camera shake.
- Switch your White Balance setting to Incandescent.
- Narrow your camera's aperture to around f/20. This will give you a larger depth of field.
- Keep your ISO in between 800 to 400. The longer the exposure, the lower the ISO.
- Post your camera on a tripod to avoid camera shake. This will keep your photos focused and blur-free.
Picking Subjects
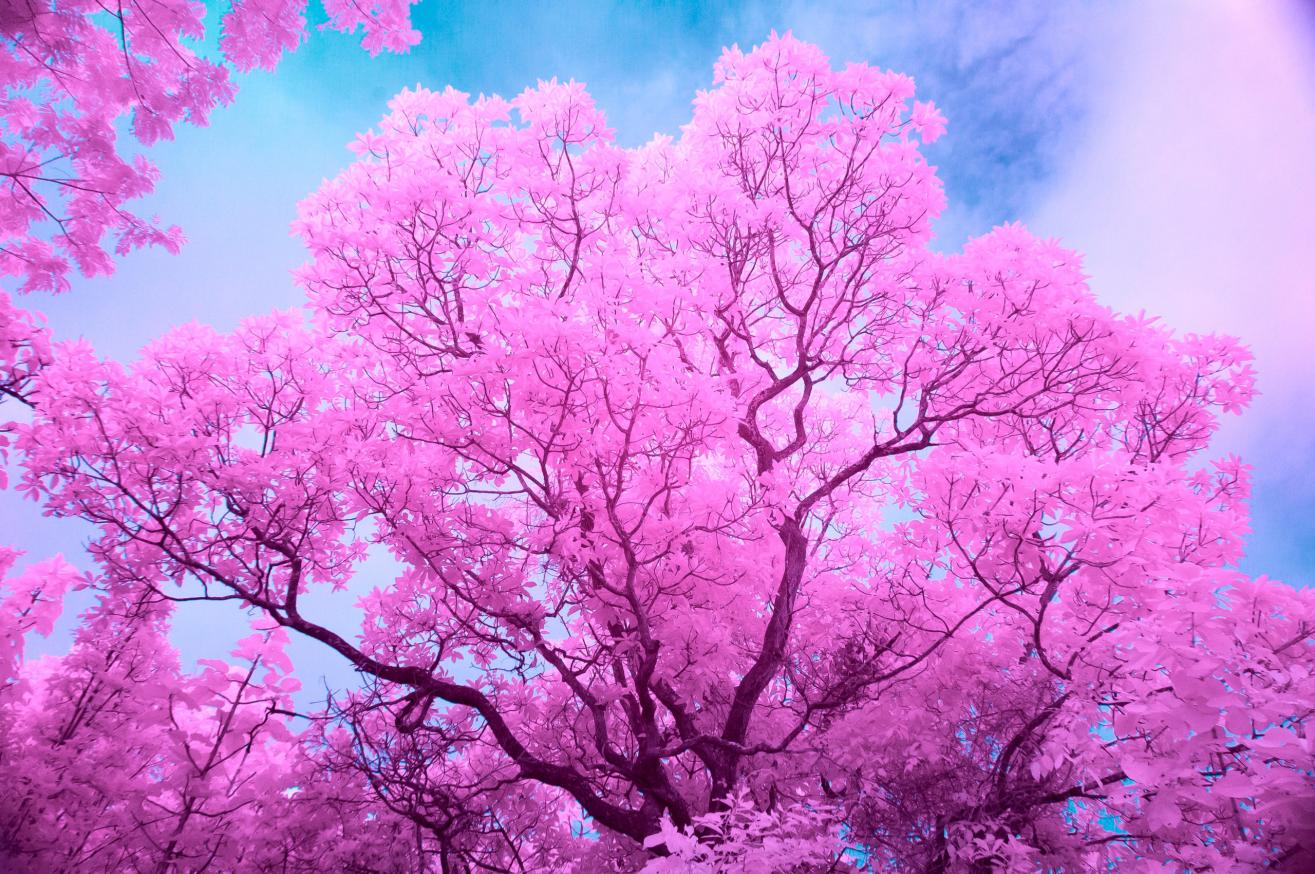
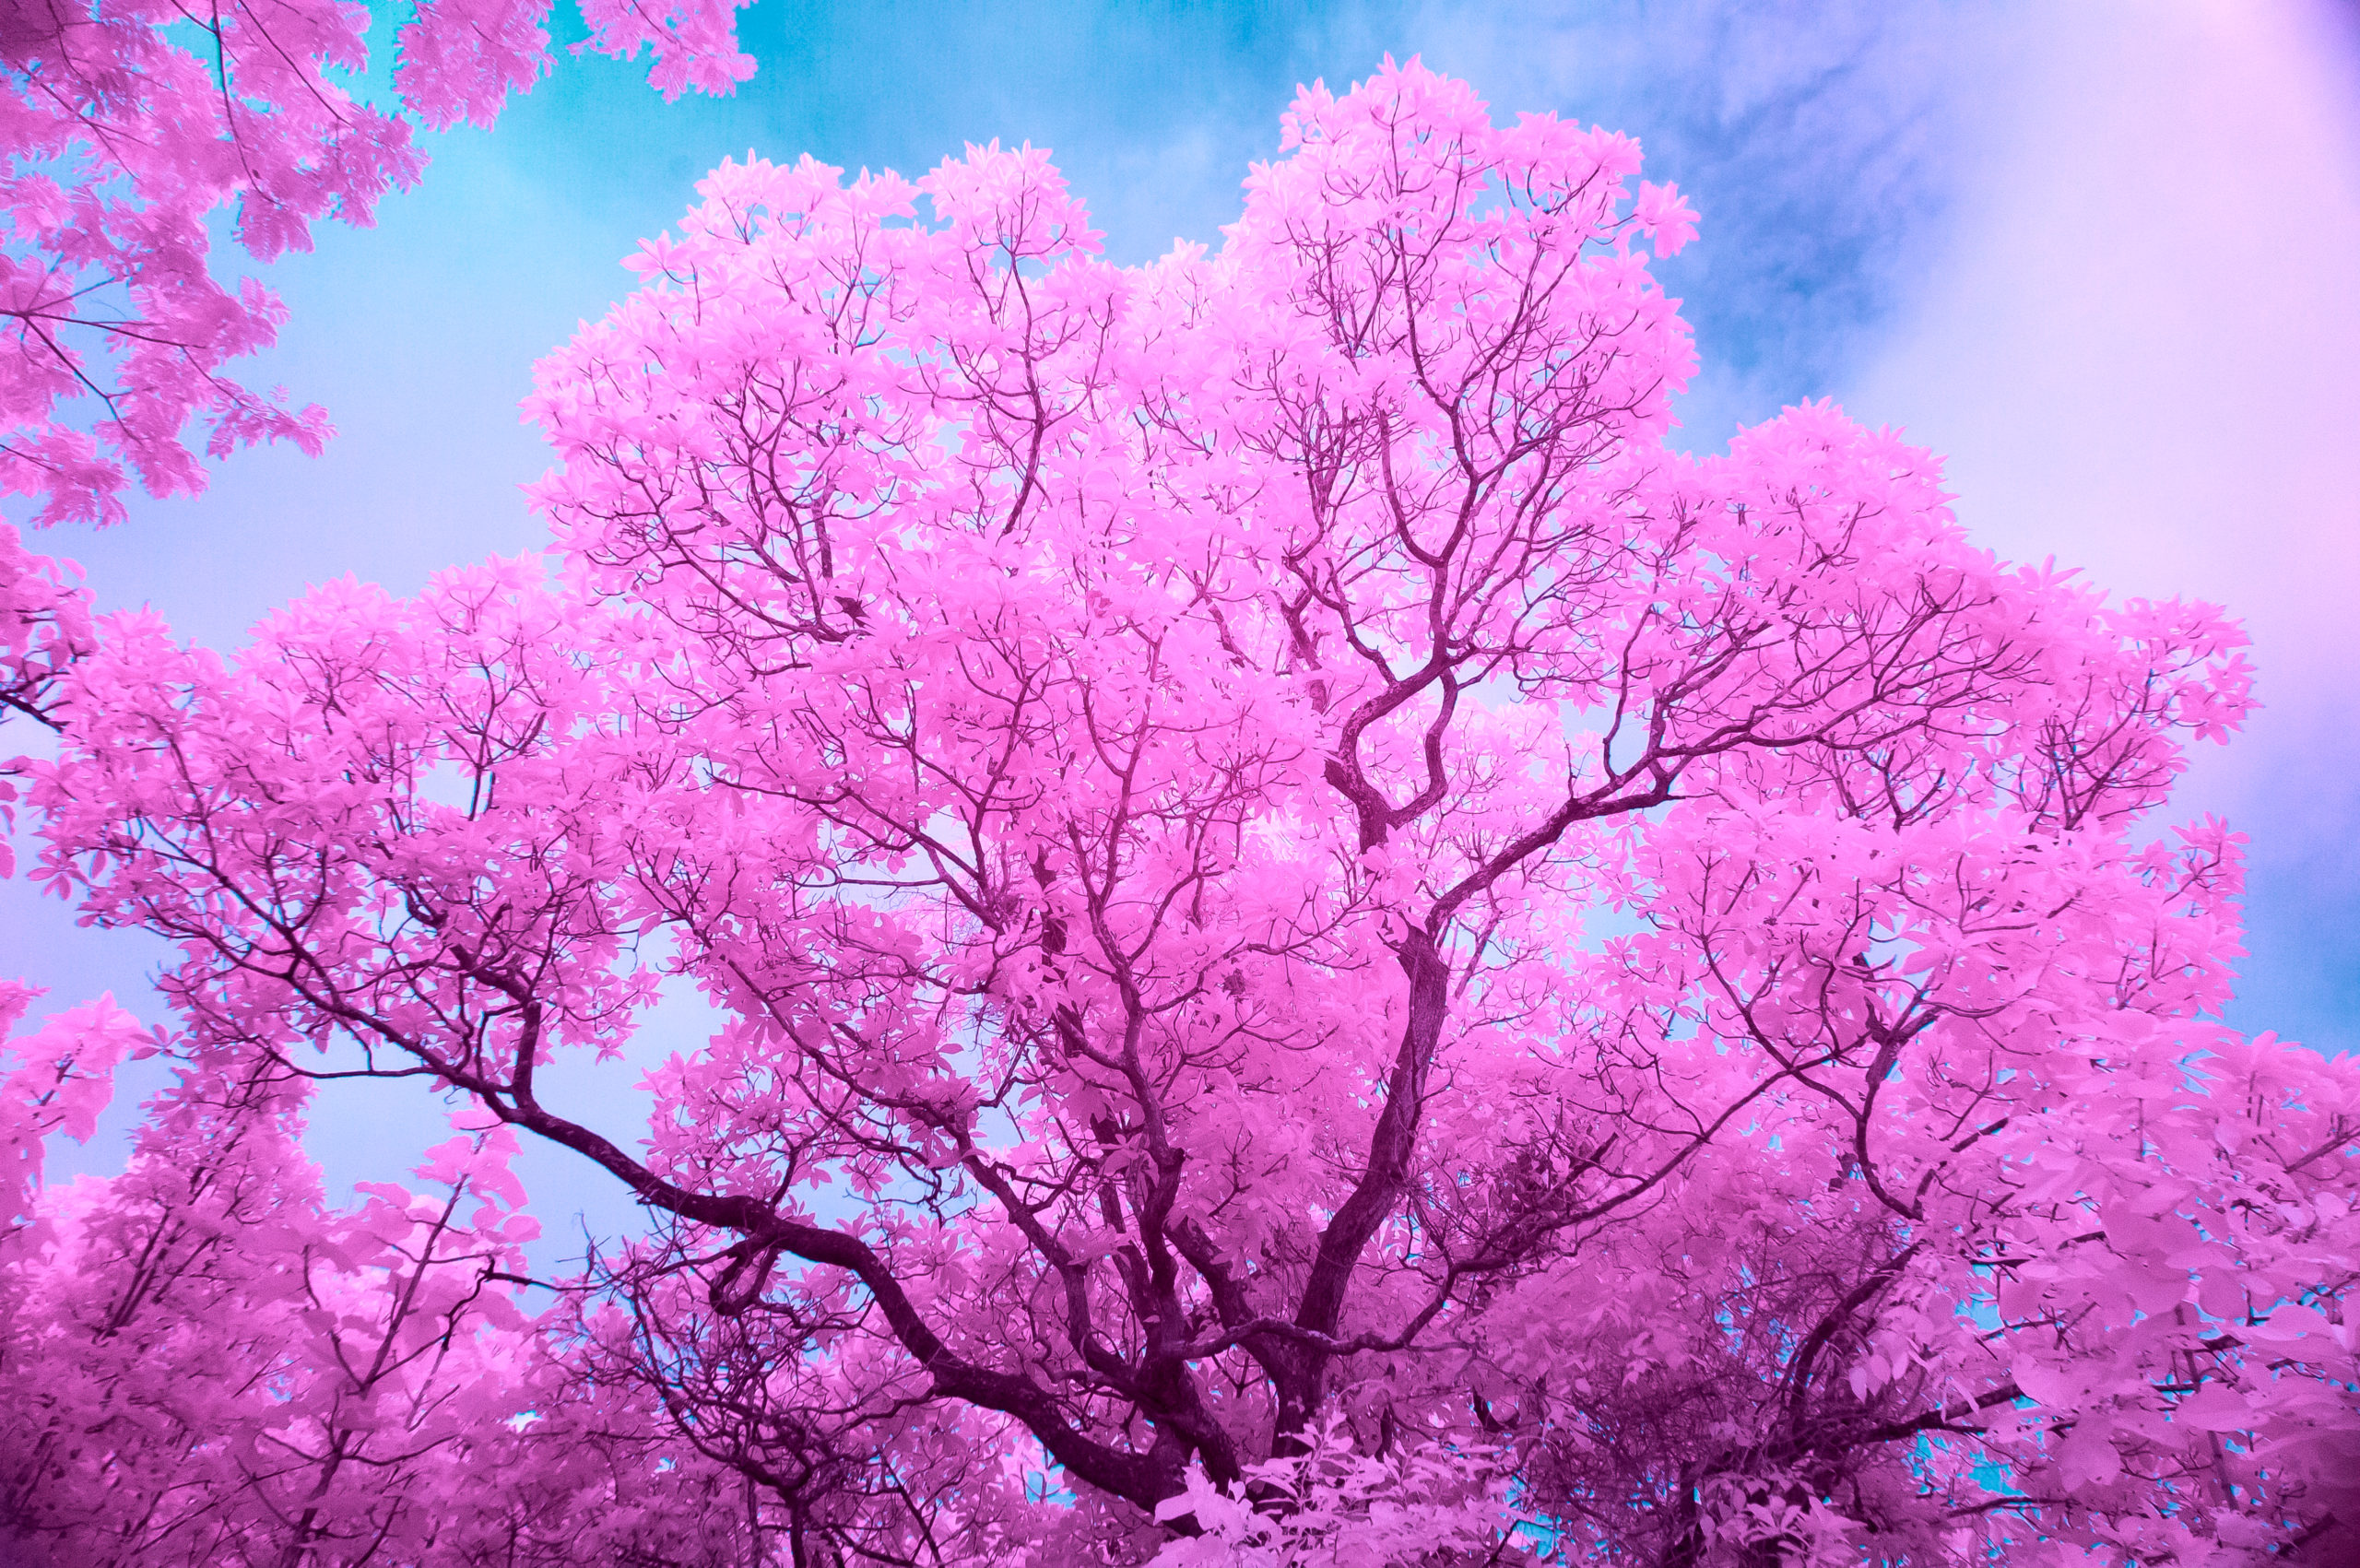
You can basically shoot anything and have it come out looking cool using this process. Many people like to shoot landscapes or buildings when using this type of filter, but any object with an interesting texture is fair game, though, since the lighting in these types of photos brings out details in subjects. You can enhance the infrared look by adjusting the white balance of the photo using photo editing software.
With a little practice, you can take some stunning infrared photos and turn them into canvas prints that your friends will envy. Make sure that you print on only the best quality canvas for the best longevity. Give us a try.