
Catching Falling Water on Canvas
It’s spread as far as North Korea and captured the imaginations of children and celebrities alike; the ALS ice bucket challenge has also resulted in some amazing moments being captured on film. While the aim of most is to film the challenge in full, there are a fair few accidental photographs and more purposeful (and amazing) images emerging. Here are a few ways of capturing falling water on canvas.
In celebration, we’re going to take a little look at the best way to capture falling water in order to create your own personalised artwork.
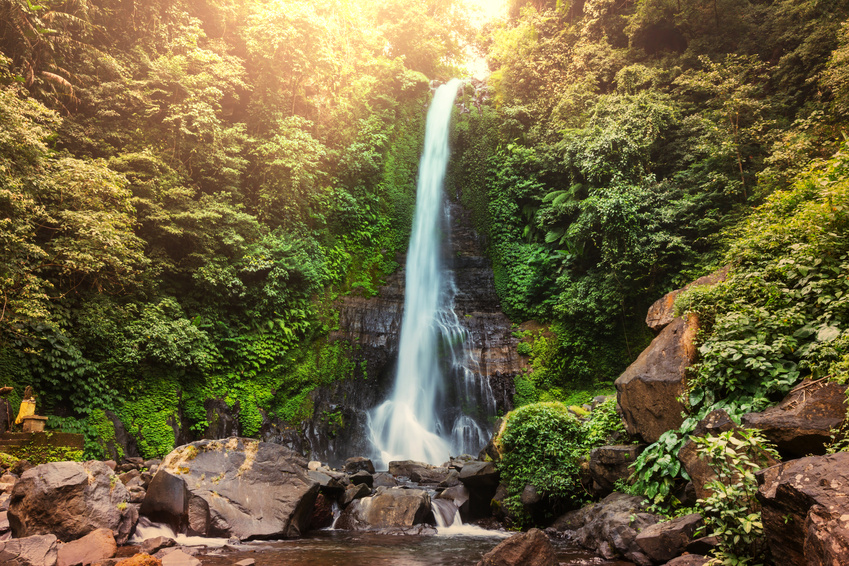
Of course, if you want to add to the £2.4 million that’s been raised for ALS so far in the process of capturing your photo, all the better! Waterfalls are the ultimate falling water photo opportunity, though for safety reasons you may want to avoid performing your ice bucket challenge at the foot of one! Here are a few tips to help you photograph waterfalls or other moving water:
1) If you use a fast shutter speed and freeze the motion, you’re not going to get the ‘falling water’ effect we’re looking for. Instead, choose a longer speed and you’ll get that gentle blurring that suggests the rushing of water. Set up your tripod so you’ve got a nice sturdy snapping point and take a few test shots to ensure you’ve got the motion capture right.
2) Water shots have a sneaky habit of coming out all overexposed as it can be difficult to control the light balance with all those particles to bounce off. Overcast days may allow you to capture your subject more easily or set it up at sunrise or sunset. Selecting a suitable filter, for instance, a polarising filter will also help limit the amount of light. Using a low ISO will reduce your camera’s sensitivity to light and should help you achieve a nice level of detail too.
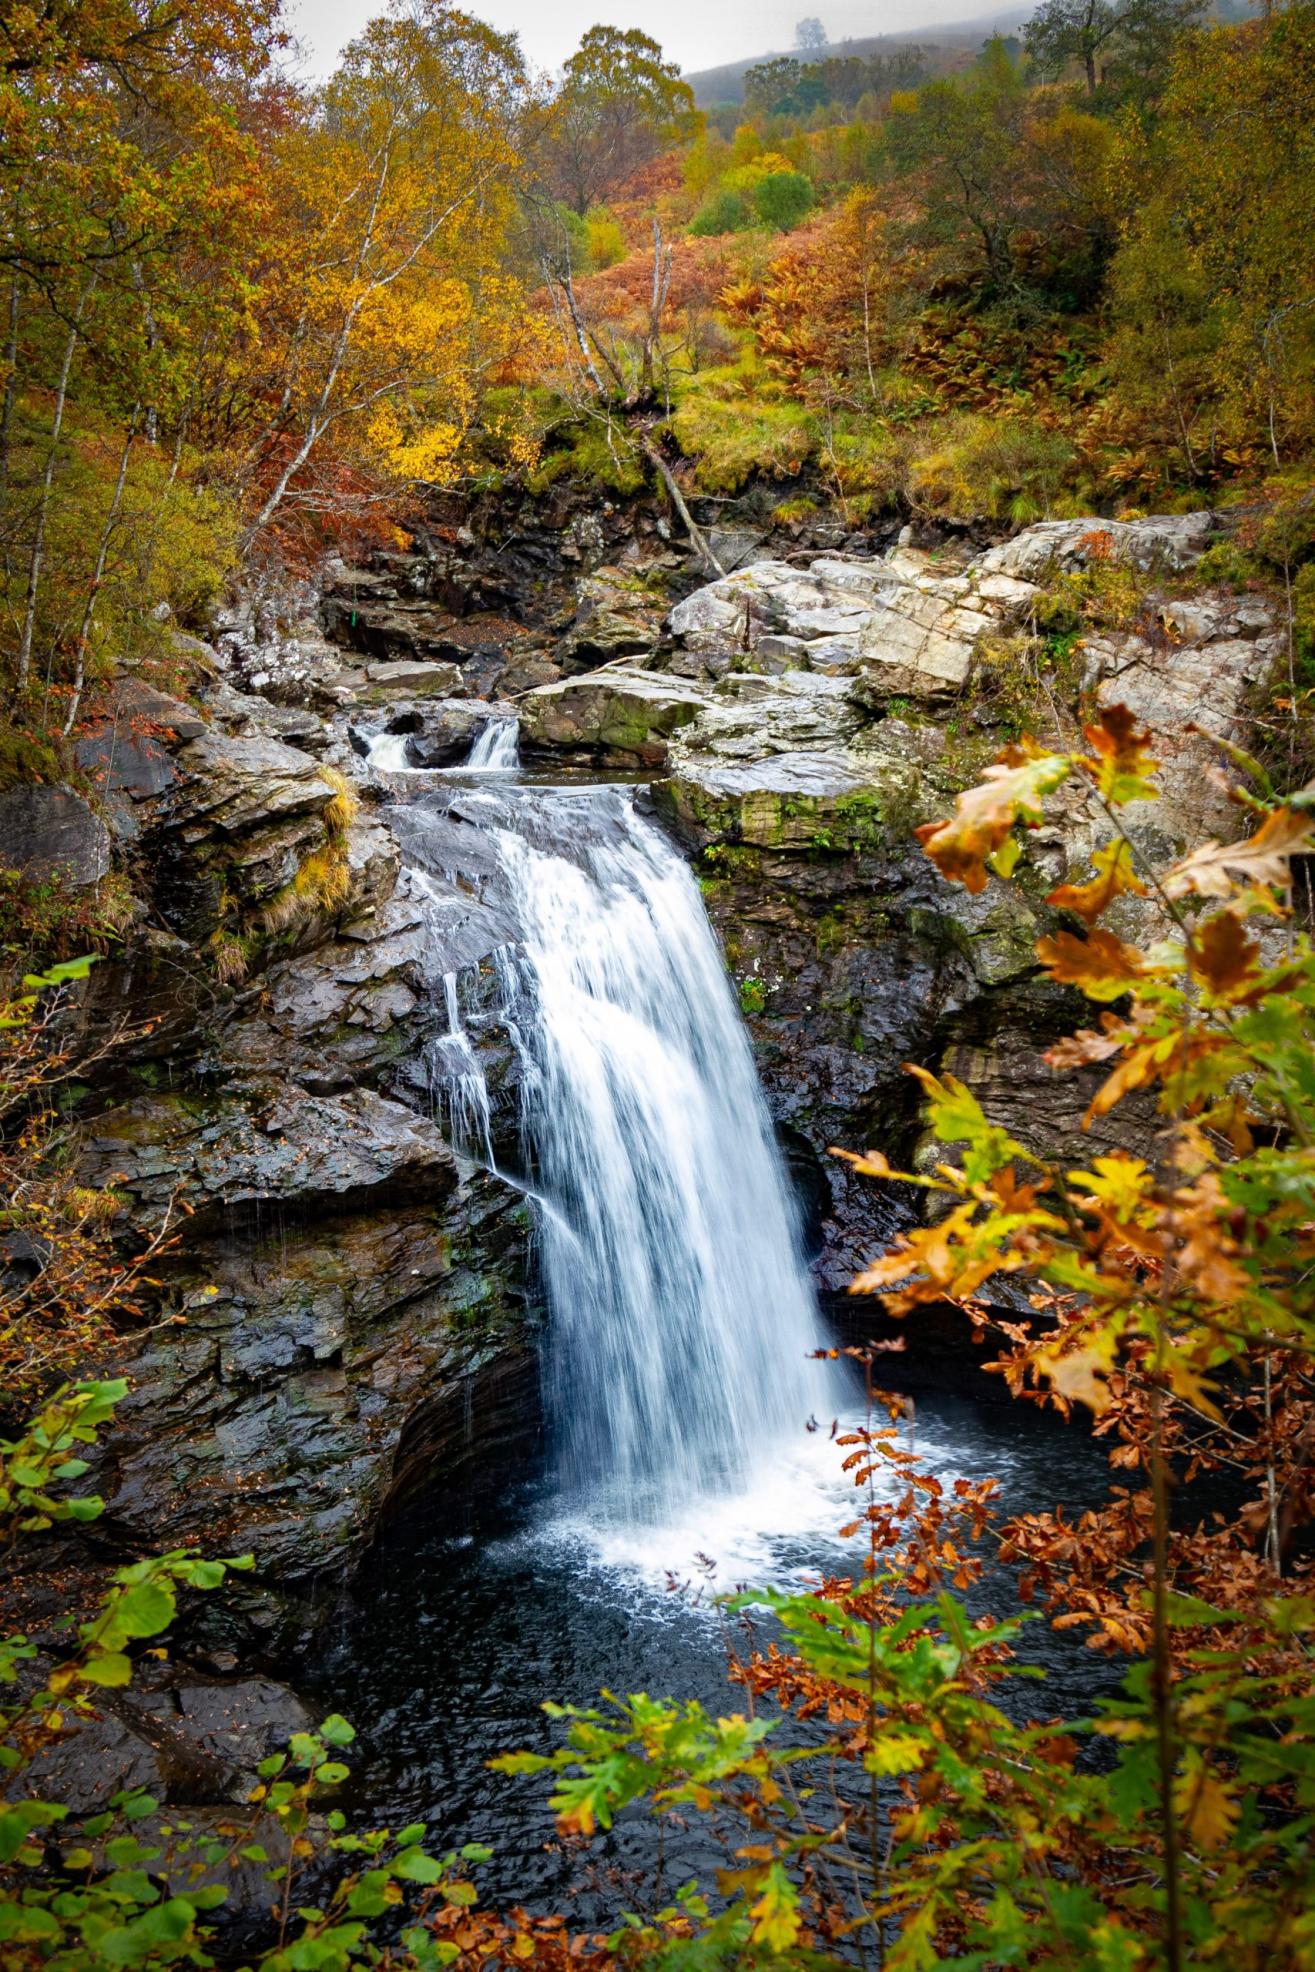
3) To achieve different effects with the water try taking lots of photographs at different speed and apertures, this will give the appearance of different textures and either help you settle on one ultimate image to transfer to canvas or a whole series that work together
4) As well as settings, play with your angles and shoot the waterfall from different sides. Shooting so you capture a little off to the side will produce a photo with that lovely blanket of water effect. To show the power and gravity of the fall, shoot from lower down.
5) Don’t forget the appropriate kit! If you’re wandering in waterfall territory you’ll likely need some protective gear for you and your camera to ensure you both stay dry and in one piece!
So, how can these tips help with your ice bucket challenge photos? You’re unlikely to have a volunteer who is willing to be soaked time and time again while you perfect your shutter speed but hopefully you’ll have learnt a thing or two about capturing falling water. Don’t forget the challenge will be a portrait too, so think about coaching your subject into making a great face at the moment of impact and practice the count in just as you would with a jump shot. Shoot from a lower level to capture their full expression and the water falling.
You may need to shoot a little faster on this one and be careful not to get wet yourself! If you think you’ve taken a winning snap of falling water on canvas, why not transfer your photo to canvas with our custom canvas builder?