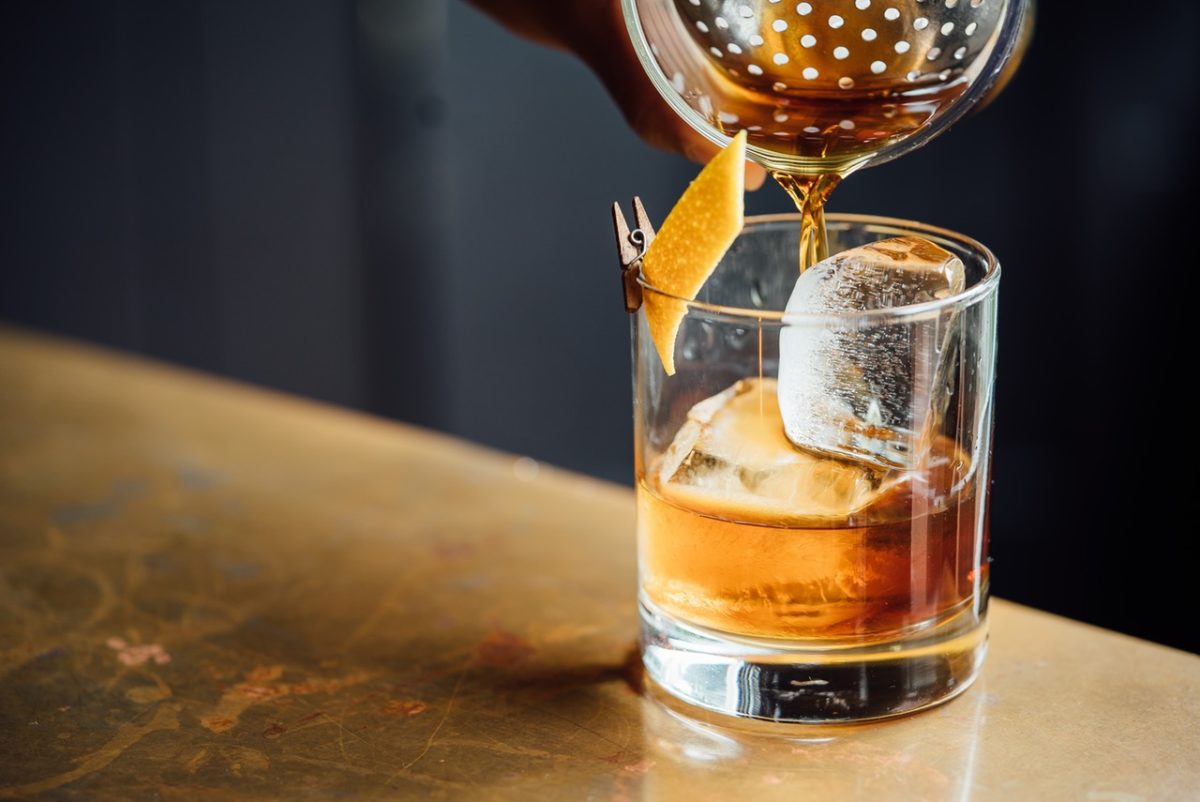
A tipple or two: drink photography tips
If you can manage to wait long enough after the drink is poured to take a photograph of it, then drink photography could be another string to your bow. Making food and drink look delicious may seem like an easy task, but getting it just right takes a lot of effort and some insider tips – there’s a reason that people make a fortune specialising in this type of photography.
Here’s the Parrot Print guide to enticing beverage photography.
Pop of colour
Everything looks better with a pop of colour and drinks are no exception. Even though most alcoholic drinks, as well as non-alcoholic ones, have little colour - you can still play with colour within your shot. If you have a clear liquid to promote, try to add in bright greens and yellows to heavily suggest the citrus flavours within.
A sense of occasion
The container you use for your beverage is also important as time and effort has gone into deciding what drinks go where. We all know the debate on having water in a mug – it’s a debate that divides the country!
Be sure to have Cosmopolitans in a Martini glass and your champagne in a flute glass. This guide helps you navigate this territory.
Backlighting is your friend
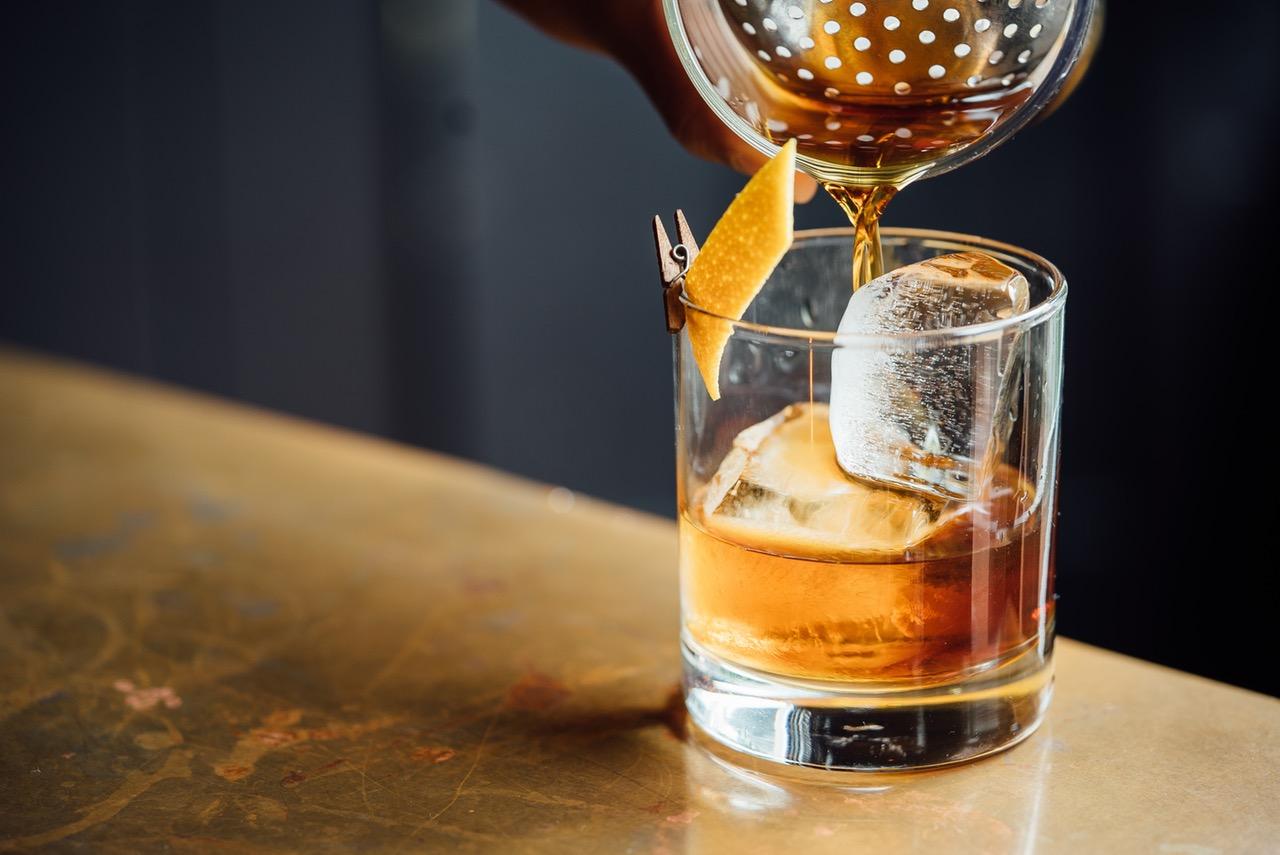
Placing the drink in between your camera and a backlight will add depth to the image, giving it an appetizing glow. This also applies to drinks such as wine or even milk as the light brings out interesting features such as condensation and bubbles. Having excellent lighting is half the battle so play around with getting the angle just right for your shot.
What’s in the drink?
As mentioned above with adding colour, it can be difficult to convey what the drink is without some visual aids. If you are putting together a lavender-infused gin cocktail, make sure to place a sprig of fresh lavender in shot. What would Pimms be without some strawberries, cucumber and mint?
You need to tell a story with your photograph, filling in the blanks so the viewer can imagine taking a sip of that drink.
Insider drink photography tips
Condensation – you can’t rely on this to happen naturally on the day of shooting, so create some photographer magic by putting your glass in the freezer five minutes before you shoot. As it defrosts, you will have some very photo-worthy condensation.
Bubbly beer – Apparently, adding a sprinkling of salt to your beer will give it a bubbly appearance – very appealing! This comes from renowned photographer Jonathan Gayman.
If you aren’t ready to get cracking after those insider tips, then drink photography is not for you! Maybe the place of alcohol consumption is more your kind of thing? Check out our post on the beauty of signage. Your local pub could have the signage that makes it on to your next print on canvas. There’s also three great new photo apps to check out if you’ll be using your phone as a camera on your next project.

